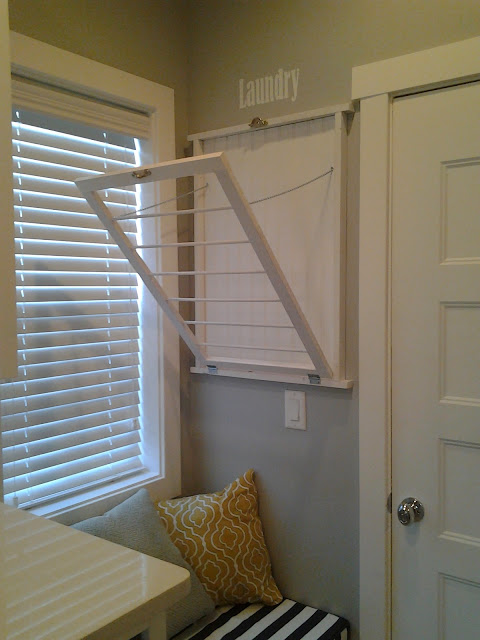
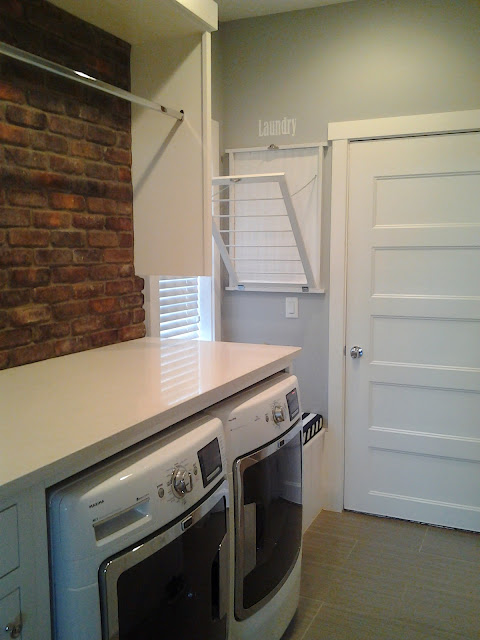
I fell in love with this cottage style drying rack on pinterest but for over $300 I decided to make my own!
So if you are sick of you $10 fold up drying rack from Ikea that takes up half your laundry room, here are the step by step instructions…..
1. Buy your materials:
-1×2 material (total length will depend on size of wall frame and hanger frame)
-A sheet of beadboard
-dowels
-chain for the 2 sides and screws to secure chains
-hinges for the bottom
-a catch hardware piece for the top
-wood glue
-paint & fine sandpaper
-hardware to secure to wall
-nails
2. Start by making your frame: cut your lengths for the frame and nail them to your bead board (I get the hardware company to cut my bead board for me).
3. Make the inside frame: cut the lengths so the inside frame will fit snuggly inside the wall frame. Do not nail together until after dowels are inserted.
4. Cut and inserts dowels into the 2 side pieces of the frame: use a drill to make the holes and glue to secure them in place. Once the glue dries you can nail the top and bottom of the frame to the sides of the frame.
5. Paint each frame seperately: After you sand the dowels really well so they dont snag your clothes, paint the wall frame and the inner frame seperately and let dry. I also applied a clear finish coat afterwards.
6. Hardware: install the hinges, chains (with screws) and catch hardware.
7. Secure to on wall! Done!


